TL;DR Don’t have time for the full story? I understand.
I got a call from a customer the other day; unfortunately, not one filled with praise.
Apparently, none of the product images were showing on their website.
That can’t be a good look, I thought and popped open their home page to confirm; Affirmative, no images 😟.
So what’s the deal? I opened one of the image urls and the truth is revealed…
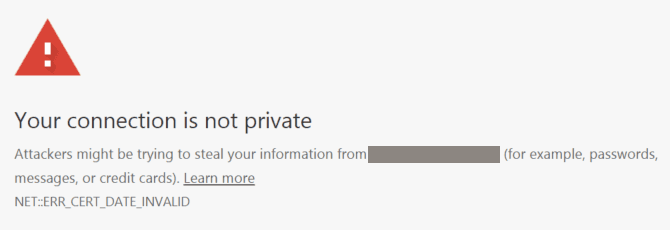
Doh! The SSL cert covering the CDN endpoint had expired.
The browser is doing it’s thing by blocking insecure content from the CDN, so none of the images show up.
No time to cry in a corner, so I hopped into the GoDaddy account that generated the SSL, renewed the cert and downloaded a fresh bundle.
Now over to StackPath, our CDN provider, to update the cert that secures our site images.
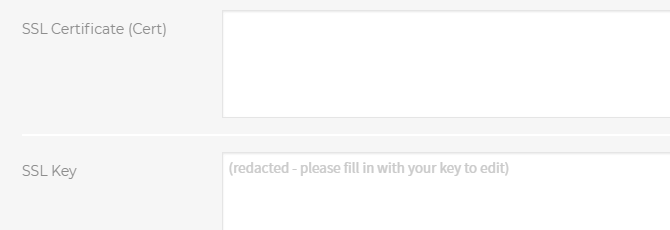
No problem, I’ll just open my GoDaddy cert bundle and paste each file contents into its proper place. Think again…
No private key is included in the bundle.
Ugh, not as simple as I thought.

Here’s how I recovered a private key:
Note: I did this on a Windows 10 box, with Git Bash installed. As long as you have some form of OpenSSL installed it should work.
1. Open IIS and navigate to Server Certificates.
2. Use the Create Certificate Request…
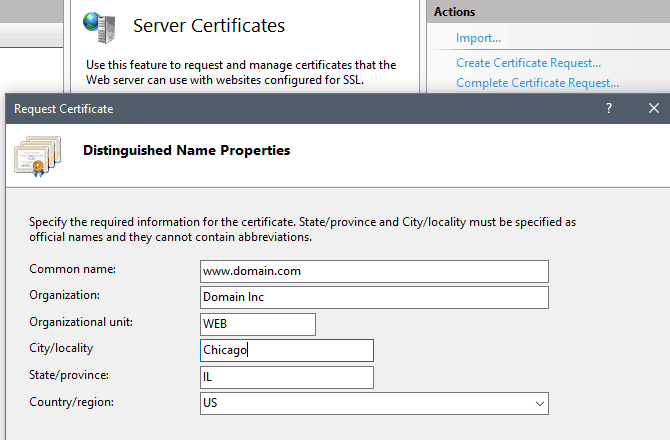
On Step 2 use at least 2048 Bit length
3. Save the resulting file (I prefer a .csr extension), then open it in a text editor.
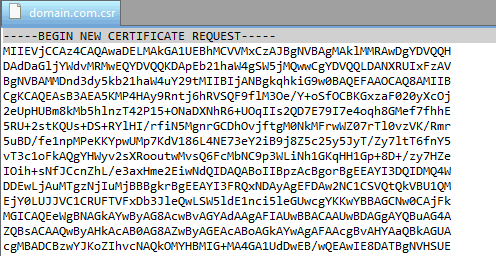
4. Paste the entire contents into the GoDaddy Re-Key form field.
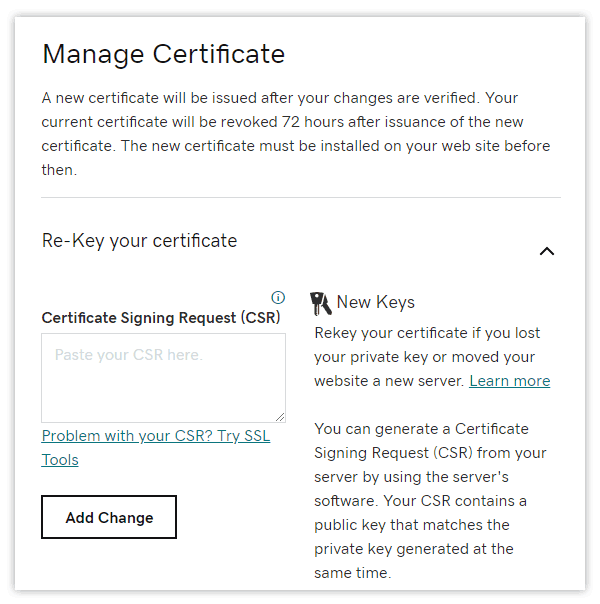
5. Submit the changes and go grab a coffee ☕.
6. After GoDaddy confirms the re-key, you should download the revised cert bundle and unzip the contents.
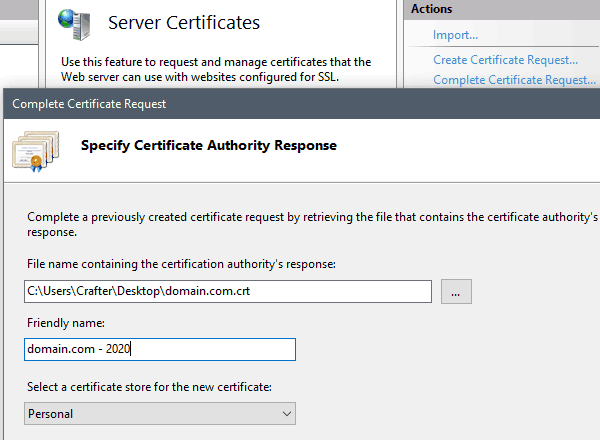
7. Head back to IIS and navigate to Server Certificates again. This time choose Complete Certificate Request…
8. Browse for the .crt file you just unzipped, provide a Friendly name like domain.com-20xx and hit OK.
9. The certificate will now be installed on your system with an associated private key.
10. Select the new certificate from the list and click Export…
11. Set a file path for the .pfx file, enter a password (save this in a password manager) and hit OK.
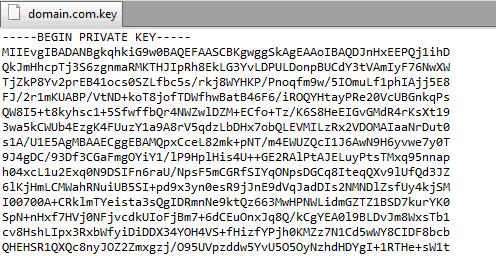
Last Step: FINALLY … the private key extraction from command line:
Try running this command:
> openssl pkcs12 -in domain.com.pfx -nocerts -out domain.com.key -nodesIf it fails or freezes up, try this script prefixed with winpty:
> winpty openssl pkcs12 -in domain.com.pfx -nocerts -out domain.com.key -nodesSuccess!