Ran into a situation today where I needed to place some non-input UI between fields in an UmbracoForm. I was using it to place some contract term links, but it can be used for any custom html markup.
I’ll preface this post by stating I’m working in:
Umbraco 8.6.1
UmbracoForms 8.4.2
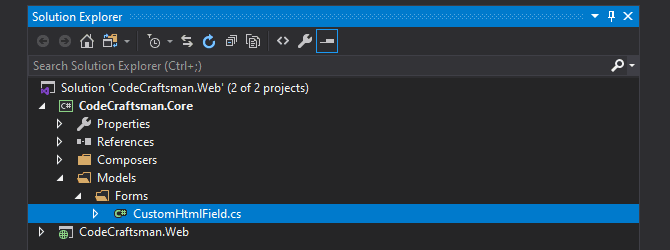
I started by creating a new model to represent the new Field Type and place it in my class library at Models/Forms/CustomHtmlField.cs; keep it organized. If you don’t have a custom code library created yet, follow my Umbraco project setup guide.
using System;
using System.Collections.Generic;
using System.Web;
using Umbraco.Forms.Core.Data.Storage;
using Umbraco.Forms.Core.Enums;
using Umbraco.Forms.Core.Models;

namespace CodeCraftsman.Core.Models.Forms
{
    public class CustomHtmlField : Umbraco.Forms.Core.FieldType
    {
        public CustomHtmlField()
        {
            this.Id = new Guid("bce8a96e-7b99-4d9c-b963-00dc60e41791");
            this.Name = "CustomHtml";
            this.Description = "Render a block of custom html.";
            this.Icon = "icon-autofill";
            this.DataType = FieldDataType.String;
            this.SortOrder = 10;
            this.SupportsRegex = false;
        }

        [Umbraco.Forms.Core.Attributes.Setting("Markup", View = "TextArea.Custom")]
        public string Markup { get; set; }

        public override IEnumerable<string> ValidateField(Form form, Field field, IEnumerable<object> postedValues, HttpContextBase context, IFormStorage formStorage)
        {
            return new List<string>();
        }
    }
}
Run a build on the class library, then switch over to the Web project.
In order to provide a Backoffice-editable field in an UmbracoForms Field Type, we need a couple template files placed into the Plugins directory.
<div class="fieldset-markup" style="max-height: 200px; overflow-x: scroll">
    {{ field.settings.Markup }}
</div>
/App_Plugins/UmbracoForms/Backoffice/Common/FieldTypes/customhtmlfield.html
This Backoffice template renders the field.settings.Markup value matching the property of the same name in our CustomHtmlField class above. The filename is matched by lower-casing the FieldType class name like so…
public class CustomHtmlField --> customhtmlfield.html
<textarea name="textarea" ng-model="setting.value" rows="4" style="width: 100%"></textarea>/App_Plugins/UmbracoForms/Backoffice/Common/SettingTypes/textarea.custom.html
This template is optional, but allowed me to better control the styling of the <textarea> when inputting my html. The filename is matched by lower-casing the View argument in the Markup property’s Setting attribute.
View = "TextArea.Custom" --> textarea.custom.html
Now it’s time to reap the rewards of our work.
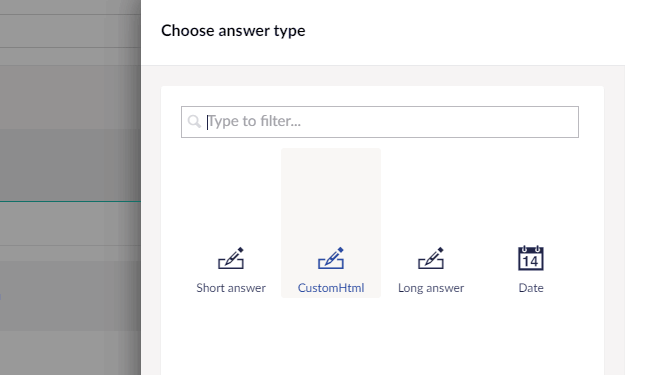
Access the Backoffice and create a basic Umbraco Form. Add a Question and you will see your new answer type like so:

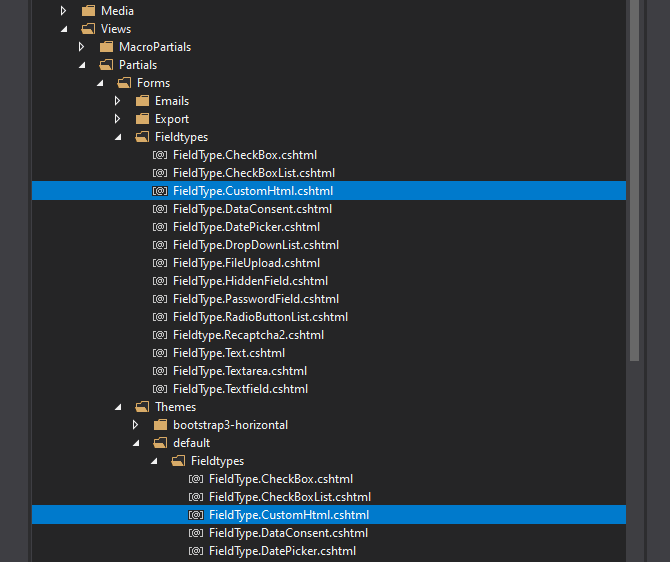
We need a front-end template for the Field Type also, so create a Razor template at /Views/Partials/Forms/Fieldtypes/FieldType.CustomHtml.cshtml. Oddly, you also need to duplicate that template into the Themes/default/Fieldtypes/ folder, otherwise runtime errors will ensue.
@model Umbraco.Forms.Mvc.Models.FieldViewModel
@using Umbraco.Forms.Core.Extensions

@{
    var settings = Model.AdditionalSettings;
    var hasMarkup = (settings.ContainsKey("Markup") && !string.IsNullOrEmpty(settings["Markup"]));
}

<div id="@Model.Id">
    @if (hasMarkup)
    {
        <p>@Html.Raw(settings["Markup"].ParsePlaceHolders())</p>
    }
</div>
That will render any html markup you enter from the backoffice into your form where the custom field is placed.