I’m taking a break from my usual roll of tech-help blogs to share a basic life-hack anyone can accomplish to make their home a little more quiet.
Before you start, make sure you have the one item required to make this modification work:
A small roll of foam tape weatherstrip.
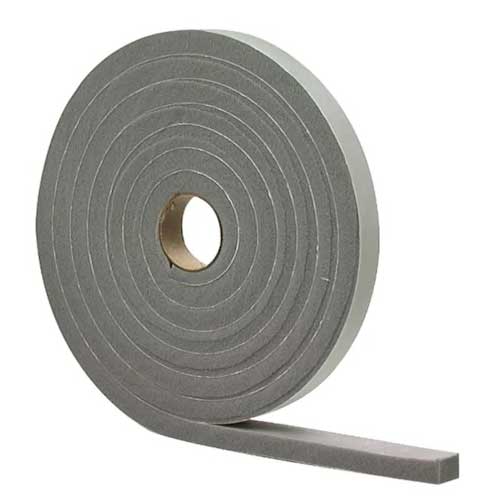
It compresses very well and has self-adhesive backing. Also, I’m basing this guide on a Broan Exhaust Fan + Light combo unit. Some of these steps may not apply to you.
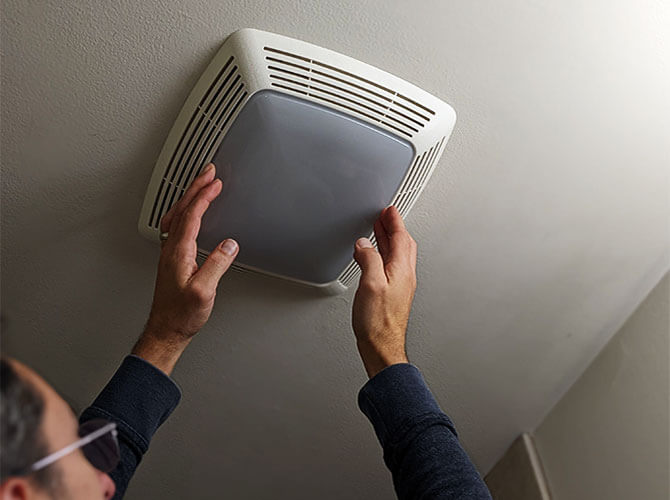
Remove the light cover
Use two hands to press in on the two sides of the light cover with tabs. You can just see a bit of the tabs sticking into the frame. Squeeze, then pull it out.
Remove the bulb and light fixture
After unscrewing the light bulb, you will see a small metal nut in the center of the fixture. Unscrew that nut while supporting the frame.

Once loose, the entire frame and fixture will come out. It will still be attached by a cord and plug, so grip the plug end and pull it straight out.
Silence of the fans
Now it’s time to take the crazy out of this fan.
You’re going to calm this unit down by cutting pieces of your foam weatherstrip to fit each touch point where the metal light fixture makes contact with the plastic frame. Use my photo as a guide:
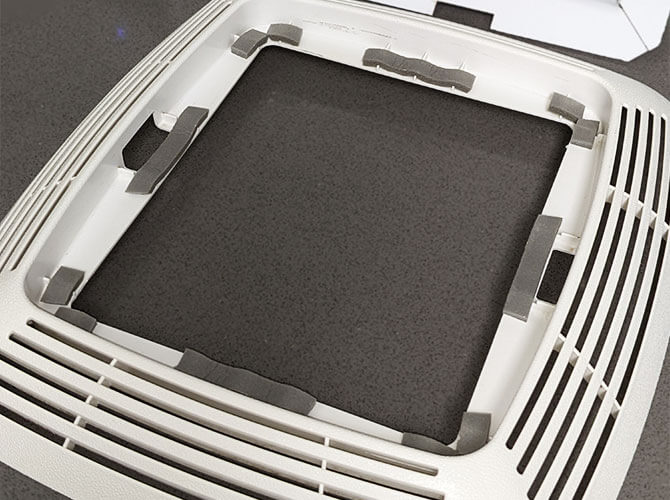
Once your weatherstrip is in place, reassemble the fixture to the frame and plugin the fixture. Line-up the hole in the center of the fixture with the threaded screw extending down from the fan unit and tighten the nut back onto it, until snug.
Replace your light bulb with an eco-friendly LED unit 😁 and snap the light cover back into place, completing your modification.
Hopefully this tip worked for you, but if you still have some shakes and rattles, you may have missed some touch points that need more cushion.